Selling a small West Village apartment and want it to look bigger, brighter, and more functional from the first click? You are not alone. Compact floor plans and irregular layouts are common here, and buyers judge fast based on photos and first impressions. In this guide, you will learn practical, budget-minded staging tactics tailored to West Village homes that help your space read larger, show a clear layout, and inspire stronger offers. Let’s dive in.
Why staging matters in the West Village
In the West Village, many listings are studios or one-bedrooms in prewar walk-ups, boutique co-ops, and newer condos. Buyers value charm and efficient living, and they make quick decisions based on perceived space, natural light, and functional flow. Small differences in presentation can influence days on market and perceived value in a competitive neighborhood.
Industry organizations report that staging helps buyers visualize how a home will live and often shortens marketing time. In tight urban micro-markets where online browsing dominates, the way your rooms photograph can have an outsized impact on traffic and interest.
Small-space staging principles
- Scale to the room: choose low-profile sofas, slim consoles, and narrow dining sets.
- Protect sightlines: avoid blocking windows, doorways, or the view across the room.
- Draw the eye up: tall, narrow shelving and vertical art add a sense of height.
- Use mirrors wisely: place a large mirror opposite a window to amplify light and depth.
- Keep a warm neutral base: soft whites and warm grays with one accent color read larger.
- Show flexibility: stage multifunctional pieces that handle work, dining, and entertaining.
- Edit accessories: one curated moment per surface is enough.
Room-by-room playbook
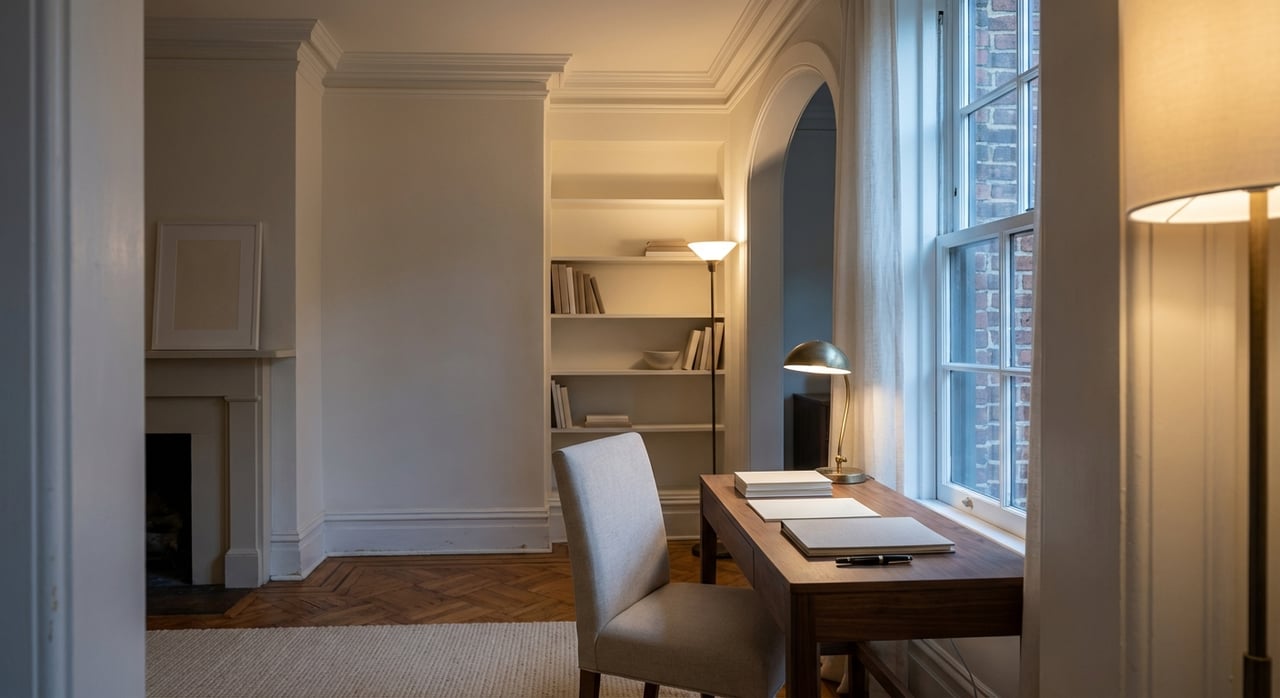
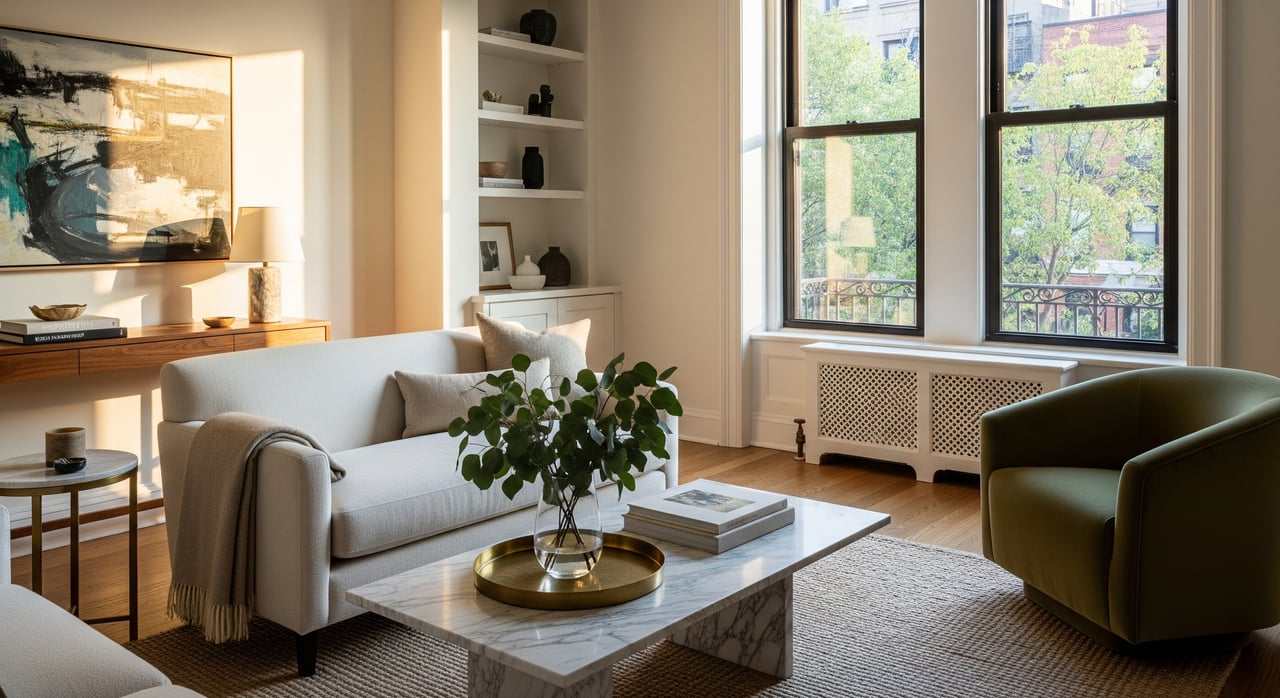
Living room or main space
- Anchor with a two-seater sofa or apartment sofa plus one slim accent chair. Avoid large sectionals that crowd the footprint.
- Use a rug that catches at least the front legs of seating to define the zone cleanly.
- Favor furniture with exposed legs to keep sightlines open and floors visible.
- Choose nesting or stackable coffee tables or a narrow console to preserve floor space.
- Style simply: one coffee-table book, a small tray, and a plant. Wall-mount the TV or use a streamlined media console.
Bedroom or sleeping alcove
- In a studio, a daybed or low-profile bed suggests separation without bulk.
- Keep bedding light and simple. A folded throw and two pillows create polish without clutter.
- Install floating shelves when side tables will crowd circulation.
- Stage closets with a few well-spaced hangers and one storage box to suggest capacity.
Kitchen and bath
- Clear counters. Keep one or two items visible, like a bowl of fruit or a small herb pot.
- Remove magnets, photos, and papers from the refrigerator.
- In a tiny kitchen, a slim bar cart or petite bistro table implies dining without congestion.
- In the bathroom, use fresh white or neutral towels, a clean or new shower curtain, and remove personal products.
Entry and hallway
- Create an uncluttered arrival with a slim console or small bench plus a round mirror.
- Add a contained tray or wall hook solution for keys and mail to suggest easy organization.
Nooks and storage
- Highlight hidden storage with staged underbed boxes and labeled baskets.
- Photograph at least one closet open to show organization and usable volume.
Lighting that flatters
- Maximize natural light by cleaning windows and replacing heavy drapery with sheers.
- Layer lighting. Combine an overhead fixture with a floor lamp and a table lamp where possible.
- Choose warm bulbs around 2700K to 3000K for a welcoming, photo-friendly tone.
Color and finishes
- Stick to neutral walls in soft white, warm gray, or beige to expand perceived space.
- Add texture with woven rugs and linen drapery instead of big, bold patterns.
- Celebrate period details like moldings and original floors rather than covering them.
Photo-ready listing strategy
Your buyer is likely to see your home first on a phone screen. Stage for the eye and the lens, then photograph with purpose.
- Plan 15 to 25 images that tell a clear story: a hero shot of the main space, kitchen, bath, sleeping area, entry, storage, and a lifestyle detail.
- Use a wide-angle lens carefully. Slight wide-angle helps, but avoid distortion that misleads.
- Shoot during peak natural light for your orientation, often late morning to early afternoon.
- Do a last-minute sweep before photos: hide cords, remove trash bins, and tidy textiles.
Virtual vs physical staging
- Virtual staging is cost-effective for vacant units and can refresh photos quickly. Disclose virtual staging clearly in marketing.
- Physical staging drives in-person impact and helps buyers understand scale and flow.
- A hybrid approach can be efficient: physically stage key rooms and virtually stage secondary spaces.
Mobile-first images that convert
- Lead with a bright hero image that communicates space and light in one glance.
- Include at least one photo that shows multiple zones to explain layout.
- Keep frames clean. Small decor can disappear on phone screens, so simplify.
Budget and timeline basics
Every apartment and building is different, but you can plan with these tiers and timing in mind.
Budget tiers
- DIY styling: use your furniture, edit hard, and add selective textiles or art. Add a few rental pieces if needed. Works best if your furniture is current and scaled right.
- Partial staging: focus on the living area and sleeping zone. This is a smart, cost-effective approach for small apartments.
- Full staging: a complete rental package for vacant or dated units where scale and style are off.
- Virtual staging: the least expensive option for photography when in-person showings are limited.
Prices vary widely in Manhattan. Vendors price based on inventory, rental duration, building access, and labor. Obtain local quotes before committing.
Typical timeline
- Consultation and walk-through: 3 to 7 days from inquiry.
- Design and procurement: 3 to 10 days.
- Delivery and install: often 1 day for small units.
- Photography: 24 to 72 hours after install to allow for styling tweaks and optimal light.
- De-staging: schedule within the contract window and buffer for closing timing.
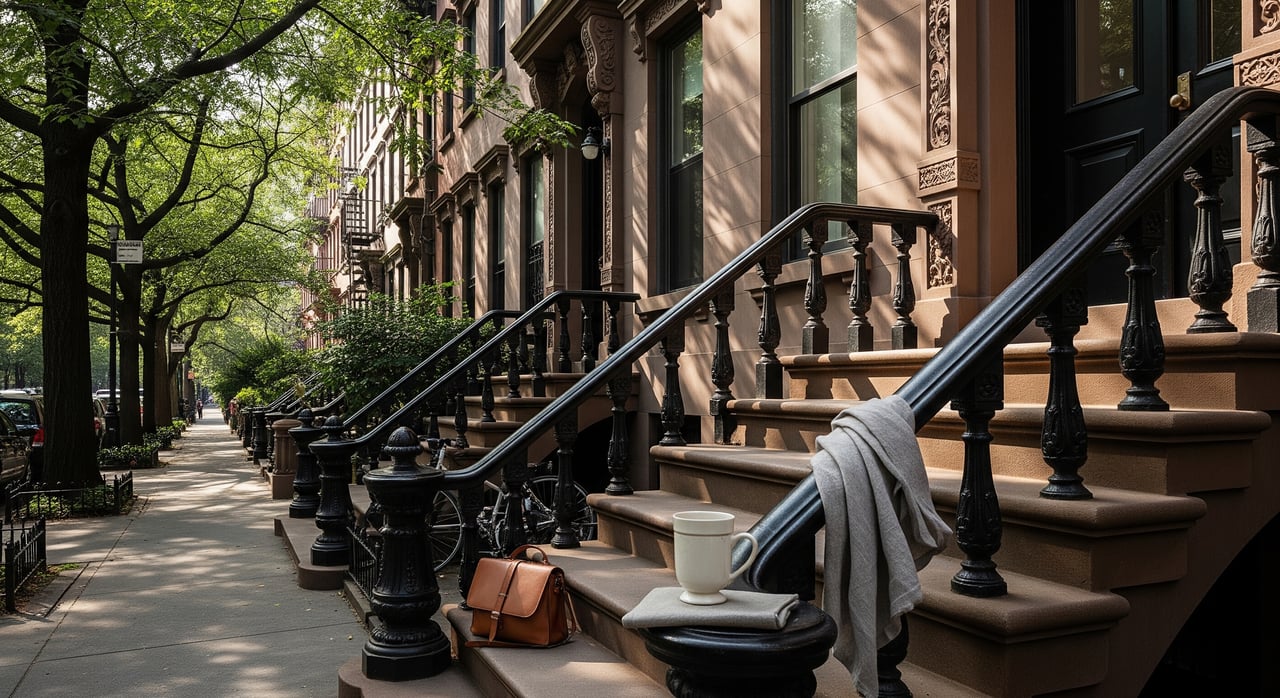
West Village building logistics to plan for
- Co-op and condo rules: confirm delivery hours, service elevator access, doorman protocols, and acceptable moving days before you book.
- Access challenges: narrow prewar staircases may require additional crew or special handling.
- Insurance: ensure your stager provides proper certificates of insurance and lists the building as additionally insured if required.
How to vet a staging partner
Use this checklist to interview vendors and set clear expectations.
- Portfolio: ask for before and afters of small Manhattan apartments.
- References: request local references you can contact.
- Inventory: confirm available pieces fit your scale and palette.
- Transparent pricing: ask for an itemized estimate that includes delivery, setup, rental duration, photography styling, and de-installation.
- Insurance and COI: verify worker coverage and liability, and confirm building requirements.
- Scheduling and contingency: clarify rescheduling, weather delays, and damage policies.
- Photographer coordination: know who is responsible for booking and shot lists.
- Contract terms: review minimum rental period, late removal penalties, and payment schedule.
Deliverables to request
- A staging plan and mood board tailored to your apartment.
- A floor plan with furniture layout options that preserve sightlines.
- An itemized list of furniture, rugs, lighting, art, and accessories.
- An installation and removal schedule with a day-of contact.
- A pre-install checklist covering what you should remove and how vendors will access the building.
Mini before and after scenarios
Open the entry, enlarge the living area
- Before: Entry piled with shoes and coats, oversize sofa blocking a window.
- After: A slim vertical console and round mirror at the entry, a two-seater sofa with exposed legs, a small media unit, and a round rug unifying seating. A mirror opposite the window bounces light. Result: clearer flow and a larger-feeling main room.
Studio becomes a suite
- Before: Full-size bed in the center of the room with no sense of separation.
- After: A daybed against the wall doubles as seating. A slim desk or dining table perpendicular to the sofa creates a defined dining or work zone. Two area rugs delineate living and sleeping. Result: multiple discrete zones and more perceived function per square foot.
Tiny kitchen, big impression
- Before: Counters cluttered, dated hardware, and a microwave hogging space.
- After: Clear counters, a bowl of lemons and a small herb pot, cleaned or switched hardware, and tidy open shelves with minimal dishware. Result: a clean, current look that focuses attention on function.
Closet staging to sell storage
- Before: Overstuffed closet with clothes spilling out.
- After: Matching hangers, a single shelf box, neatly folded items, and a labeled basket. Result: organized and roomy storage that reads well in photos and showings.
Quick, low-cost wins this week
- Deep clean and declutter every surface and inside closets.
- Paint in a soft neutral tone if allowed by your building.
- Update lighting with warm bulbs and replace any yellowed diffusers.
- Replace heavy curtains with sheers and clean all windows.
- Add good-quality linens and a few cohesive accessories to refresh key rooms.
Next steps
If you want a targeted, high-return plan for your West Village listing, we can help you decide where to invest, coordinate staging and photography, and handle building logistics with care. Our team offers curated staging transformations, valuation guidance, and polished, mobile-first marketing that showcases what buyers value most in small Manhattan homes.
Ready to elevate your space and your sale? Partner with The Schier Cloonan Team. Request a complimentary home valuation.
FAQs
When should I complete staging before listing photos?
- Ideally finish staging 1 to 2 weeks before your go-live date so you can book photos during the best light and make any small adjustments.
Is virtual staging acceptable for a West Village apartment?
- Yes for vacant units, as long as you disclose that images are virtually staged. For in-person showings, physical or partial staging works better.
Can staging increase sale price in Manhattan?
- Industry groups report staging improves buyer visualization and can shorten marketing time. In competitive NYC submarkets, better presentation can influence offers by improving perceived usable space.
Should I depersonalize my apartment for showings?
- Yes. Remove most personal photos and any sensitive items so buyers can imagine their own life in the space.
What are the fastest, budget-friendly improvements?
- Declutter and deep clean, repaint in a neutral shade, update bulbs and hardware, refresh linens, and replace heavy drapery with sheers for more light.